How can I fly in Aloft?
Settings and Connecting to your drone with FlightDeck
Step 1: Connect to the controller
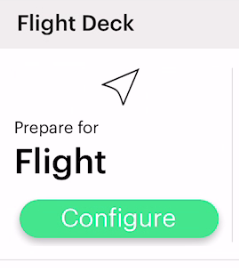
From the main Preflight Dashboard, you’ll see the green “Configure” button. Turn on your controller and DJI drone. Once connected, the icon will update and the “Go fly” button will appear.
Tap to go fly.

Step 2: Setting Up Flight Deck
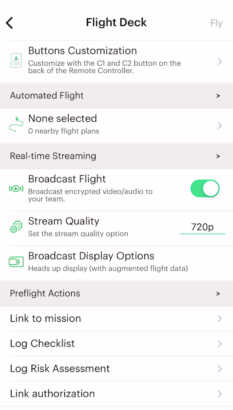
Log Settings
When you connect with Flight Deck, we’ll automatically set your aircraft and battery based on the serial number.
If we haven’t seen that aircraft or battery, we’ll display a popup that will allow you to add a new asset to your account or to link the asset that’s already saved in your account.
If we’ve already linked and recognized the serial number, the aircraft and battery(s) will be automatically set and remove an extra step in your workflow.
Flight Settings
Sending digital notice alerts participating airports and organizations of your flight plan. Especially if you’re a hobbyist, you’ll want to double-check that the airport accepts the digital notice.
Announcing the flight makes it public so that fellow pilots can see your flight and be aware of your airspace and where your drone is in real-time.
Enterprise users can also enable streaming from this screen.
Step 3: Checklist (if you so choose)
We’ve put convenient links for preflight actions so that you can easily log your checklist, risk assessments, authorization, etc., and return right back to Flight Deck and prepare for your flight.
Step 4: Fly
Once your aircraft and battery(s) are connected and you’ve set your notice and airspace settings, it’s time to start those props! “Fly” should now be enabled in the top-right corner.